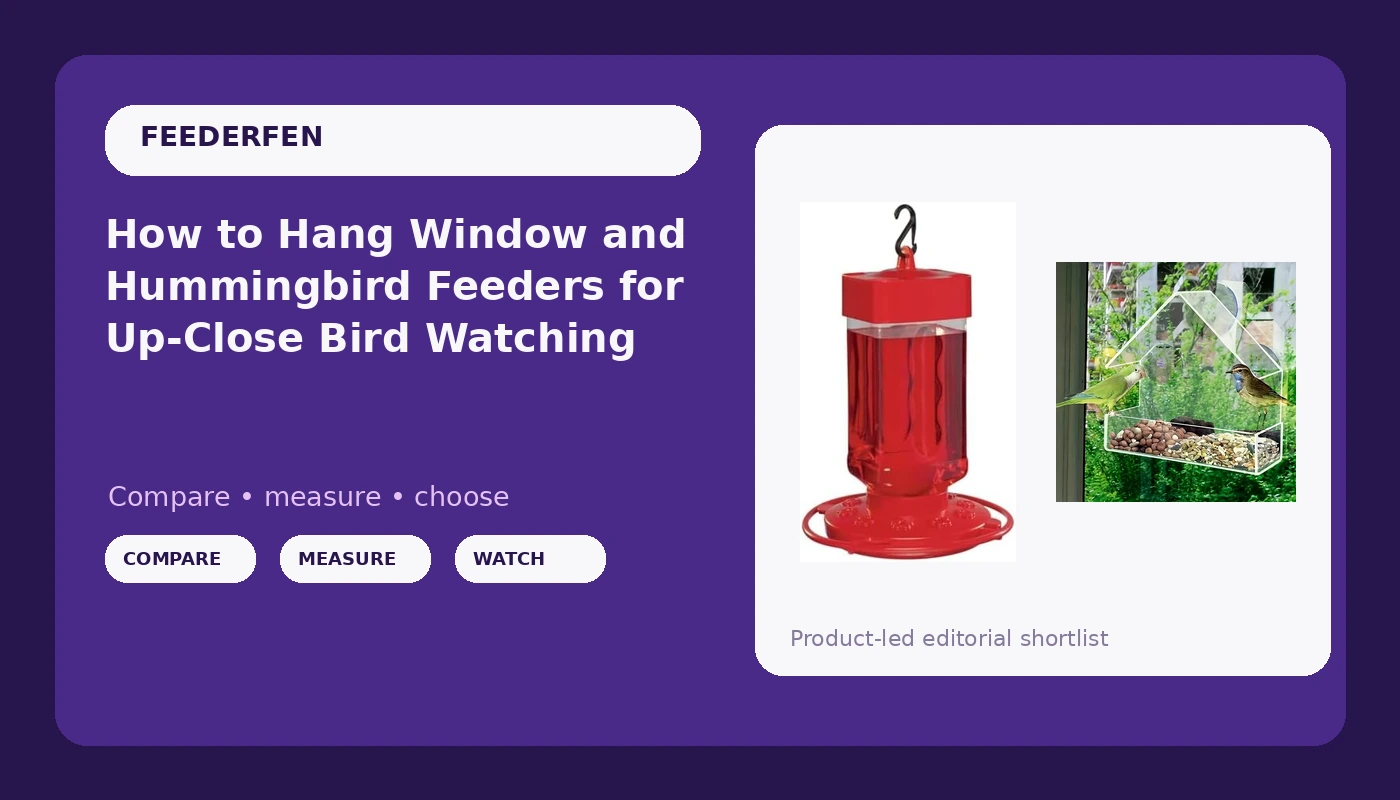
A window bird feeder setup does two jobs at once. It puts birds close enough to watch without lifting a pair of binoculars, and it keeps them from hitting your glass. Get the placement wrong and you have hung a target three feet from the table where you eat dinner. Get it right and you have the best seat in the yard.
I'm Mara Kessler. I feed birds in Madison, Wisconsin, and I have for twelve years. Ten of those years I have kept the log: a spreadsheet with every species that visits, the first-of-season date for each migrant, and how many cups of seed each feeder draws per week. I also work part time at a small animal clinic and run the songbird side of a county wildlife rescue out of my garage. That second job is why I care about placement and hygiene more than I care how a feeder looks in the product photo.
A window bird feeder setup is the right first project for most people, because you do not need a pole, a baffle, or a squirrel strategy. You need a window, a feeder, and about twenty minutes. This guide covers the two feeders I would start with, how to hang them so birds do not hit the glass, and the cleaning routine that keeps a feeder from becoming a disease vector with a perch.
Why you should trust me
My county life list sits at 214 species, and 38 of them have hit my feeders. I count cups, not impressions, and I write down first-of-season dates because they are the most interesting data in the log. That habit came from a retired ornithologist neighbor who taught me that "the birds seem to like it" is not a finding.
The reason I hang window feeders at all goes back to a white-throated sparrow that hit my dining room glass and spent three days recovering in a shoebox in the laundry room. That was the year I hung my first feeder three feet from that same pane, which is where it belongs. I have been strict about window placement ever since.
On the rehab side, I see what a neglected feeder does. House finch eye disease and salmonella both come through intake, and when I trace the history, it goes back to a feeder nobody took apart since fall. That shapes every recommendation I make.
How I picked and how I tested
Every feeder has to pass the same five questions before it earns a spot on my fence:
- Will birds actually use it, or will it sit pretty on the pole?
- Can I take it apart and clean it in under ten minutes?
- What does a determined fox squirrel do to it in week one?
- Will it survive a Wisconsin February, freeze, thaw, freeze?
- Would I still hang it after four seasons?
For a window feeder, question four is the whole ballgame, because the mount is what fails in a hard freeze, not the tray. For a hummingbird feeder, question two decides it, because a feeder that is a chore to clean becomes a mold experiment by August.
The two feeders below are the ones I would hand a new birder for this project. One gets birds within arm's reach of the glass. The other covers the warm months, when the yard gets loud. Neither needs a pole.
The two feeders I would start with
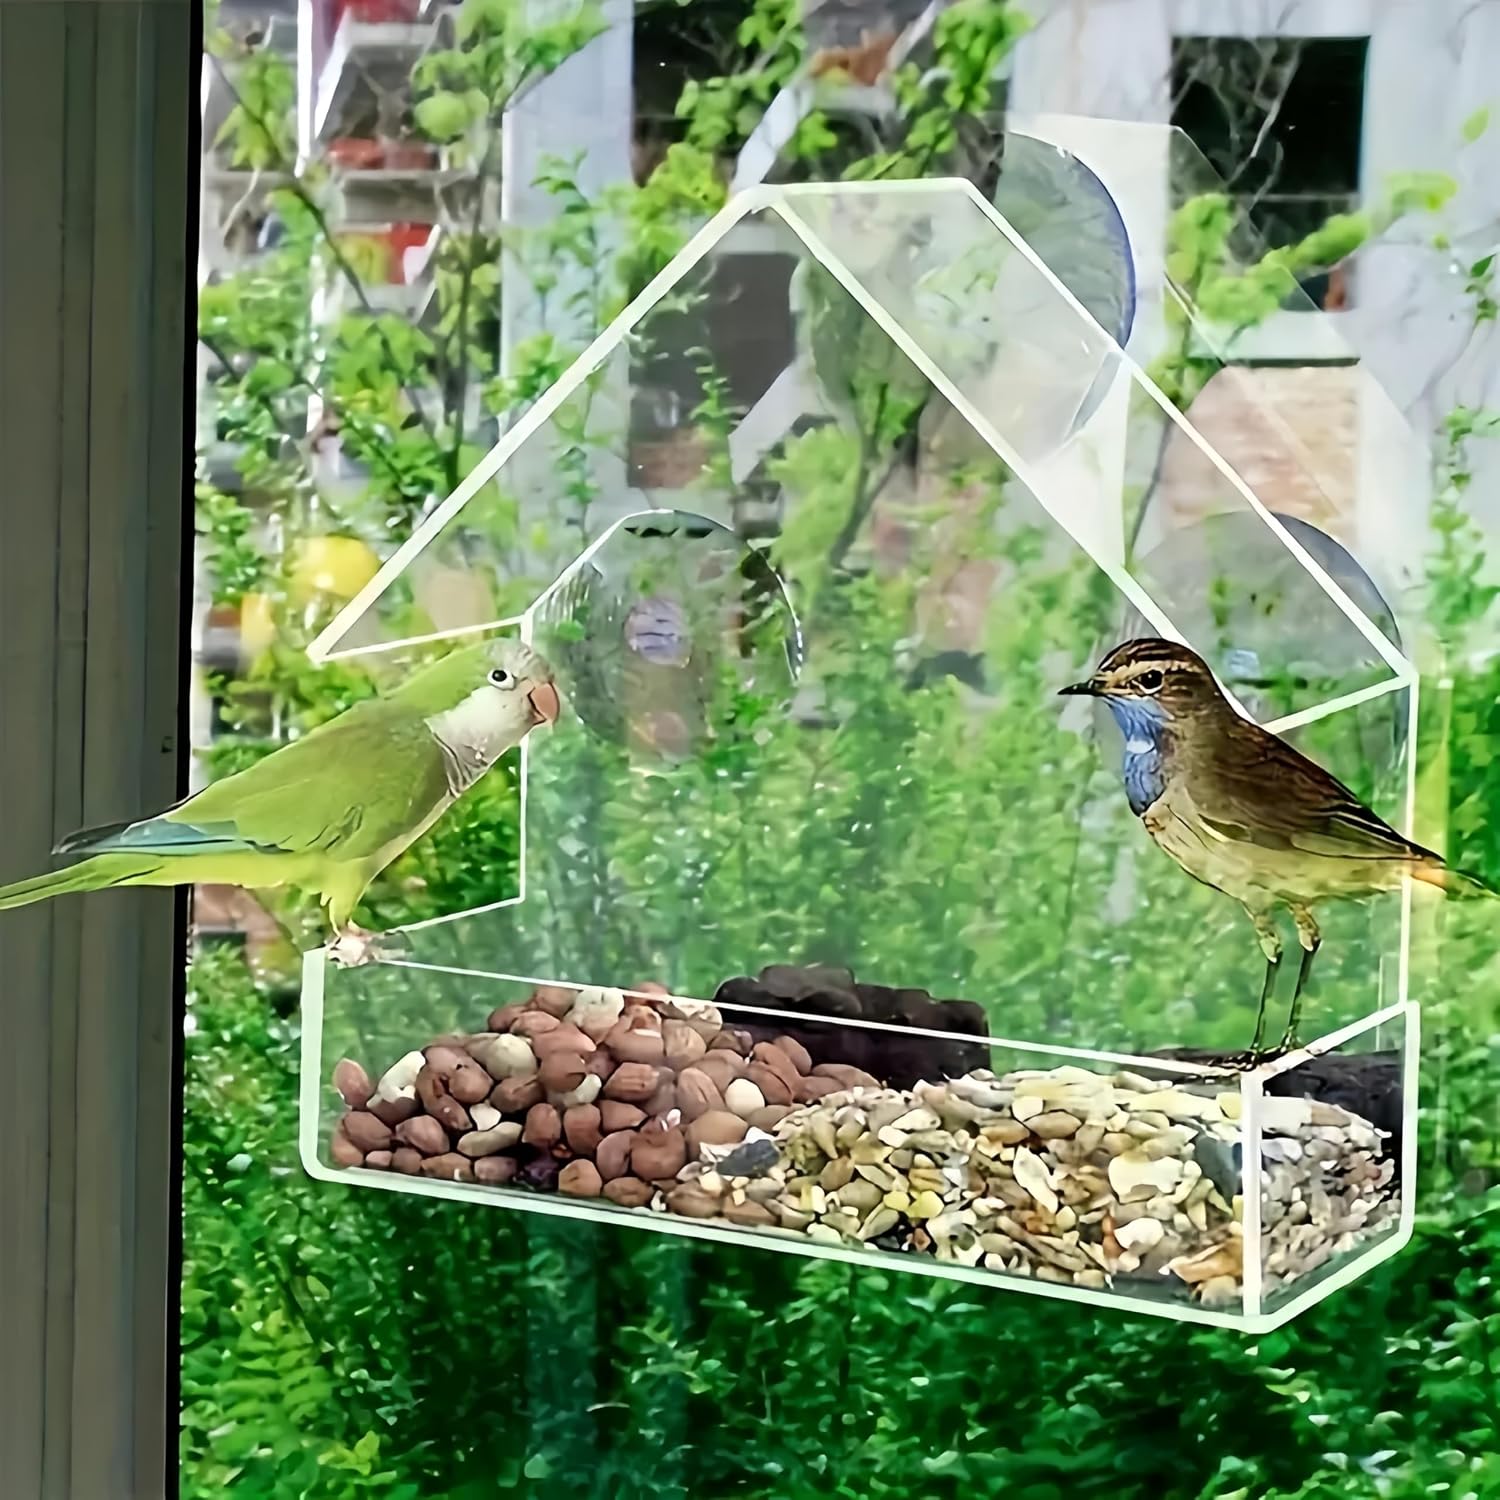
The window feeder: Clear Acrylic Window-Mounted Bird Feeder - Easy Clean Design for Up-Close Bird Watching
 Visit on Amazon →
Clear acrylic is the right material for a window feeder, and not for the reason the photos suggest. You want to see through the tray from inside the house, and you want to see the seed level without opening the window. Acrylic also wipes down faster than wood, and wood is where a feeder hides moisture and mold in the seams.
The easy-clean design is the feature that matters most here. A window feeder is small, which means it gets refilled often, which means it gets handled often. If the tray and the back come apart in one motion, you will actually wash it. If they do not, you will spray it with a hose and call that cleaning, and that is how a feeder becomes a problem.
Before you mount anything, check what holds it to the glass. That is the failure point on every window feeder I have seen, and it is the reason I bring mine in before the first hard freeze. Clean the glass with plain water and let it dry completely, because a mount that grabs dust will not grab glass.
Check current Amazon price before you order, since window feeder pricing swings with the season.
Flaws but not dealbreakers: A window tray holds a small amount of seed, so it empties fast in a busy yard and needs refilling more often than a tube feeder. Plan on checking it daily during migration.
Anyone who wants birds at eye level from a kitchen sink or a dining table, and who is willing to wash a small tray once a week, will get their money's worth here.
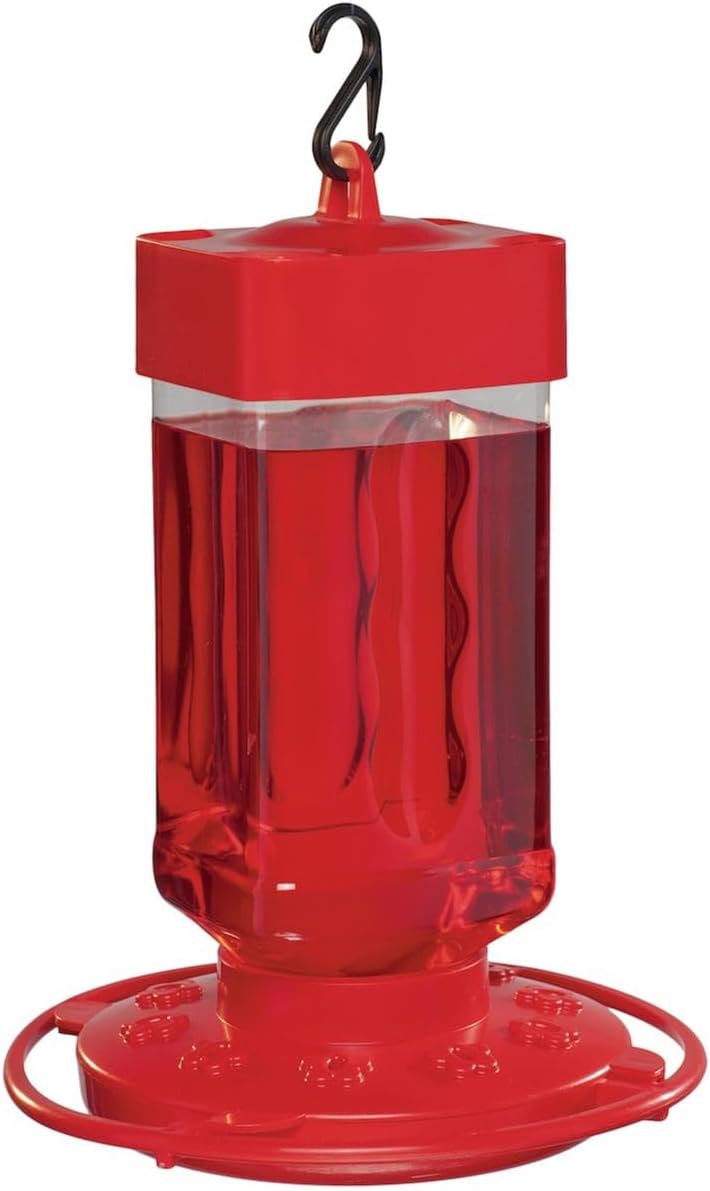
The hummingbird feeder: First Nature 3055 32-Ounce Hummingbird Feeder (Set of 3)3
 Visit on Amazon →
The case for buying hummingbird feeders in a set is simple: one hangs, one dries, one is clean. That rotation is the entire reason I can keep nectar fresh through an August in Wisconsin, and a single feeder forces you to choose between a wet feeder and an empty one.
Thirty-two ounces is a useful capacity for a busy yard, because a full feeder means fewer trips with a pitcher, and hummingbird feeders that sit half empty draw fewer birds. You will still dump and refill more often than you think in July heat. Nectar ferments fast, and fermented nectar is the reason people decide hummingbirds are not worth the trouble.
Two rules I will not bend on. No red dye in the nectar, ever. It is unnecessary and it does the birds no favors. And no "cleaning" with a hose spray. Take the feeder apart, wash it with hot water, and use a bottle brush on the reservoir. If you cannot rinse the whole thing in under a minute, you will stop doing it by July.
Check current Amazon price, since a set of three sometimes costs less per feeder than a single unit.
Flaws but not dealbreakers: Three feeders means three things to wash, and if you hang all three at once you have tripled the maintenance instead of rotating it. Hang one, keep the spares dry.
Anyone who wants hummingbirds from April through September, and who would rather rotate clean feeders than scrub one dirty one, should start with the set.
The actual setup, step by step
Step one: measure the distance from the glass before you hang anything. This is the step people skip, and it is the one that decides whether a bird lives. A feeder within three feet of the glass, or more than thirty feet away, prevents window strikes, because a bird leaving the feeder cannot build up lethal speed in either position. The zone between three and thirty feet is the danger zone, and it is exactly where most people hang a feeder because it looks good from the couch. Move it in close.
Step two: pick a window you actually look out of. A feeder on the spare bedroom window gets logged twice a month. A feeder on the kitchen sink window gets logged every morning. My log's best months are May and June, when the migrants pass through, and the entries come from the two windows I walk past before coffee.
Step three: check the mount, not the tray. The tray does not fall off. The mount does. Suction cups are fine from May through October and are a gamble in a hard freeze, and I have watched a cup let go in January. If you can bolt through the sill or use a metal bracket, do that. If you rent and cannot drill, run the suction version in the warm months and bring it inside when the forecast turns.
Step four: fill it with seed that does not make a mess. Black oil sunflower is the default, and it works in a window tray as well as it does in a tube. If you have a deck, a patio, or an HOA that reads its own mail, use a no-mess blend so there are no hulls to sprout under the feeder. Read the ingredient list on any blend you buy. Milo and red millet are filler, birds leave them in the tray, and wet filler molds. Skip it.
Step five: hang the hummingbird feeder on a different window, out of the afternoon sun. Nectar ferments faster in direct heat, and a feeder in full southern exposure on a July afternoon is a science experiment by Thursday. Morning sun, afternoon shade is the pattern to look for. In my yard the first ruby-throated shows up around April 20, two years running, so that is when the feeder goes up, even if it is still cold.
Step six: mix nectar with no dye. One part sugar to four parts water, dissolved, no red coloring. Then clean the feeder on a schedule, not on a feeling. Weekly in cool weather, more often when the temperature climbs. Take it apart every time. If you can see black spots in the reservoir, you waited too long.
Step seven: watch the first two weeks and write it down. Track what shows up and how fast the feeder empties. That number, the draw, tells you more about a feeder than its capacity does. A tray that empties in two days is working. A tray that sits full for a week is either in the wrong spot or holding seed nobody wants.
Step eight: plan the freeze. Acrylic cracks, suction cups release, and nectar turns to ice. Before the first hard freeze, bring in anything mounted with cups, switch the seed feeder to a mount you trust, and take the hummingbird feeders down once the migrants leave. Leaving a hummingbird feeder up past the last sighting does not help anybody and gives you one more thing to clean in November.
What I left off this list
I did not include a suction-cup-only window feeder as a year-round recommendation, because I have watched one fail at six below zero and hit the porch. Warm months only.
I did not include any seed blend with milo or red millet in it, for the reasons above. Cheap seed is the most expensive seed you buy, because you pay for the filler, you clean up after the filler, and the birds eat around it.
I did not include a hummingbird feeder that cannot be taken apart. There are plenty of decorative feeders on the market that look lovely and hide mold in a seam you cannot reach. A feeder you cannot scrub is a feeder you should not hang.
And I did not include anything labeled squirrel-proof. Squirrel-resistant is the honest term, and the difference is measured in weeks, not in the claim on the box. A window feeder sidesteps the argument entirely, which is part of why I like it as a first project.
What this setup costs
Both feeders are one-time buys, and the recurring cost is seed and sugar. That is the honest math on any backyard setup: the hardware is cheap next to what you pour into it.
Black oil sunflower in bulk is the cheapest way to keep a feeder full, and a big bag of sunflower hearts costs less per pound than the same weight in a no-mess blend, with the tradeoff that you get hull litter under the feeder. Nectar is sugar and water, which is the least expensive bird food you will ever mix.
I am not printing prices here because they move, and a number in an article is stale by the time you read it. Check current Amazon price at each link above and compare against the per-pound cost of the seed you plan to buy. That comparison, not the sticker on the feeder, decides what a season of bird feeding actually costs you.
One more line in the budget people forget: a second hummingbird feeder. The set of three handles it, and rotation is what keeps you honest about cleaning.
The short version
Hang the window feeder within three feet of the glass, fill it with black oil sunflower or a no-mess blend, and wash the tray once a week. Hang the hummingbird feeder on a shadier window, mix one-to-four sugar water with no dye, and rotate a clean reservoir in every few days through the summer. Write down what shows up and how fast the feeder empties.
That is the whole job. The birds do the interesting part.